How to Use Archify with Claude Code, Cursor and Codex to Generate Interactive Architecture Diagrams

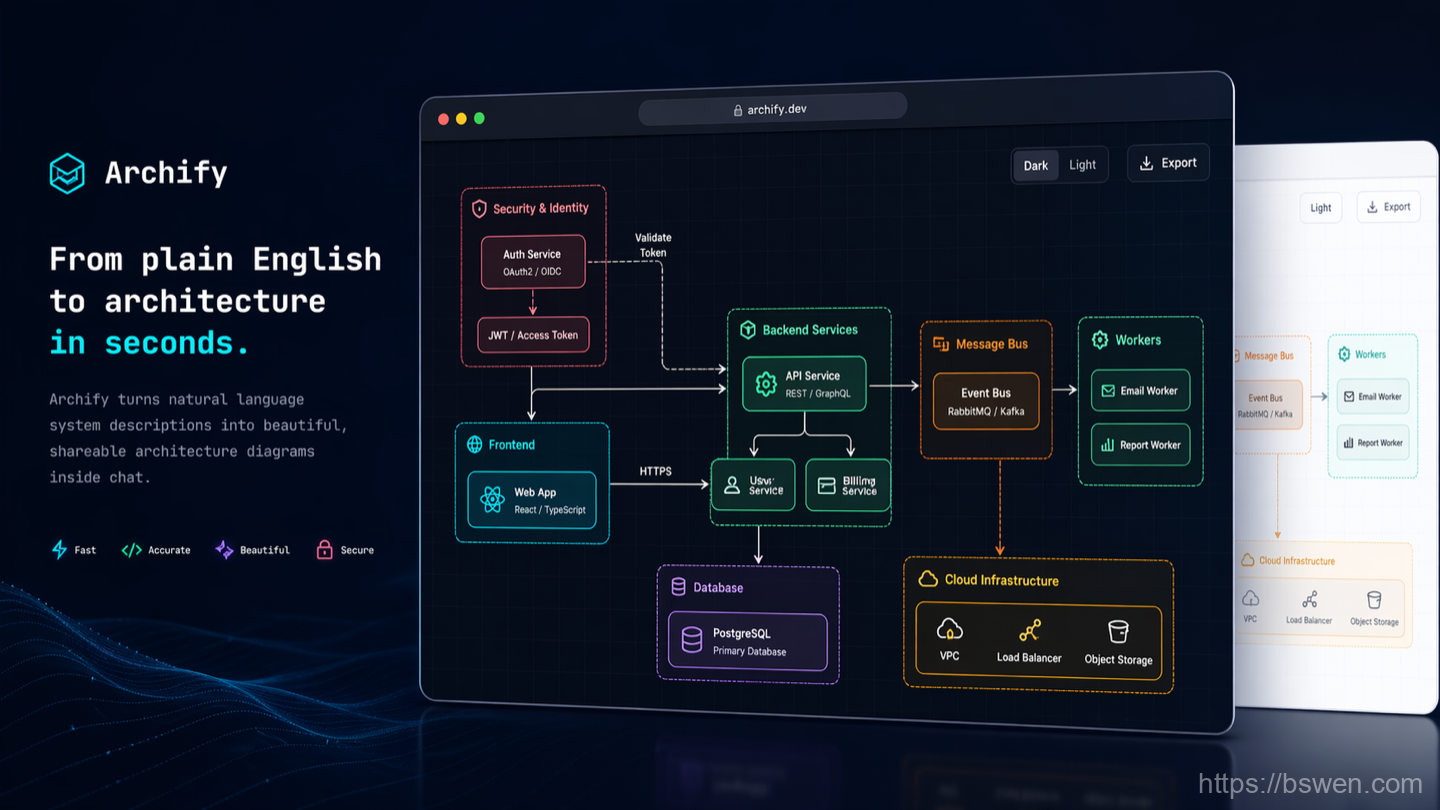
Why AI Agents Created an Architecture Diagram Problem
When I let Claude Code, Cursor, or Codex read an unfamiliar repository, the agent explains the architecture pretty well. But when I ask it to draw the architecture, I get a Mermaid snippet that I cannot easily review or share. On a large system, that problem gets worse fast.
Here is why the usual approaches break down:
- Hand-drawn diagrams in draw.io are slow. By the time the drawing is finished, the code has already changed.
- Mermaid is fast, but big systems produce crowded layouts with crossing arrows that are hard to read.
- A raw LLM-generated diagram can “guess” components and edges that do not exist in the code.
- After a multi-module PR, it is hard to see what structurally changed, because a normal diff only shows lines.
Archify approaches this differently. Instead of asking the agent to draw, the pipeline is:
code / description → typed intermediate representation → validation → deterministic rendering → interactive HTMLThe value is not “pretty pictures”. The value is a grounded, validated, shareable representation that I can review instead of trusting raw LLM output.
What Is Archify?
Archify is a Node.js rendering and validation system for Cursor, Claude Code, Codex CLI, and OpenCode. It is an Agent Skill: the agent produces typed JSON IR, and Archify deterministically compiles it into HTML/SVG.
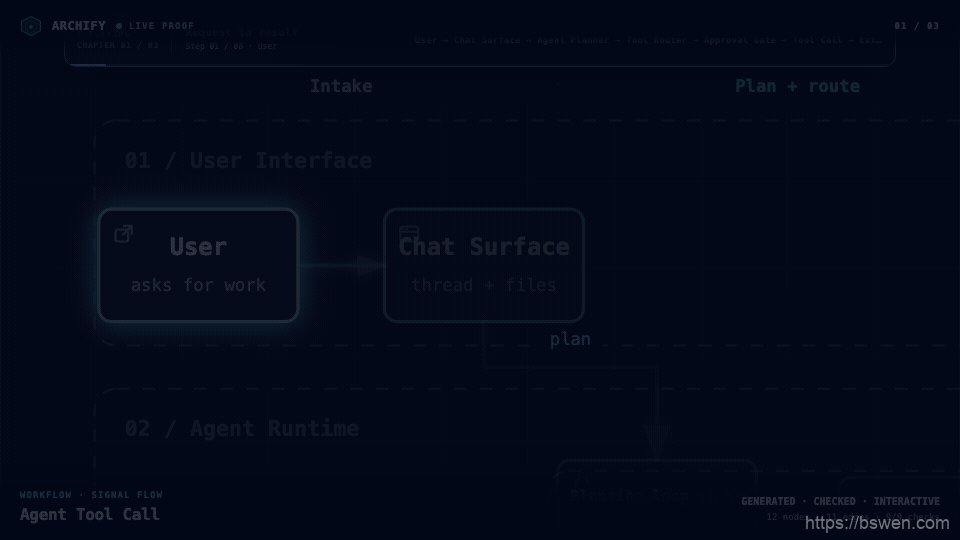
- Inputs: a codebase, a repository, an architecture description, or an agent’s analysis.
- Outputs: interactive, self-contained HTML technical diagrams.
Version note: I verified the facts in this post against the official README and CHANGELOG on 2026-08-18. At that date, the latest release was 2.15.0 and the development version was v2.16.0-dev.0. Version numbers change often, so check the repository when this matters to you.
Archify supports five diagram types:
| Diagram type | Best for | Example |
|---|---|---|
| Architecture | System-level component maps | Runtime services, data stores, external dependencies |
| Workflow | Processes and their steps | CI/CD checks, approval, deploy, rollback |
| Sequence | Message order between participants | Request → handler → database |
| Data Flow | How data moves through the system | HTTP entry point → persistence |
| Lifecycle | States of one object over time | Session from creation to cleanup |
The full generation pipeline looks like this:
Codebase or description │ ▼AI Coding Agent (Claude Code / Cursor / Codex / OpenCode) │ typed JSON IR ▼Archify validation (schema + layout rules) │ ▼Deterministic rendering │ ▼Interactive self-contained HTML diagramThe part I care about is the validation step. The agent’s analysis becomes a typed structure first, and Archify only renders it after checks pass.
Why Archify Is Useful for AI Coding Agent Users
Before Archify, the flow was: developer reads code → developer manually draws a diagram → the diagram goes stale.
Now the flow is: agent reads repository → agent produces a structured analysis → Archify renders and validates → the result is a browsable system map.
I see three concrete values:
- Less manual diagramming. The agent does the tracing; I review the result.
- Text analysis becomes a real artifact. Instead of a long chat answer, I get a diagram I can explore.
- Results are verifiable. Validation and source evidence mean I do not have to trust the agent blindly.
How to Install Archify
Archify is fundamentally an Agent Skill. The install differences come from how each agent loads skills, not from Archify itself.
The default install works for Claude Code, Cursor, Codex CLI, and OpenCode:
npx skills add tt-a1i/archify -gFor Cursor, there is an explicit non-interactive install:
npx -y skills add tt-a1i/archify --skill archify --agent cursor --global --copy --yesTo try it without installing (Codex example):
npx skills use tt-a1i/archify@archify --agent codexWhere the skill lands depends on the agent:
| Agent | Skill directory |
|---|---|
| Claude Code | ~/.claude/skills/ or .claude/skills/ |
| Codex CLI | ~/.agents/skills/ or .agents/skills/ |
| opencode | ~/.config/opencode/skills/, .opencode/skills/, or .agents/skills/ |
| Raven | manual ZIP into ~/.raven/workspace/skills/ |
| Claude.ai | upload under Settings → Capabilities → Skills |
To verify the install and generate a sample diagram:
cd archifynode bin/archify.mjs doctornode bin/archify.mjs demo /tmp/archify-demonode bin/archify.mjs guide "Show CI/CD checks, approval, deploy, and rollback"doctor checks that the runtime works, demo writes a sample diagram, and guide walks through a real scenario.
Your First Architecture Diagram
I start with a bounded prompt so the agent does not try to draw the whole monorepo at once. This prompt comes from the README:
Analyze this repository, then use archify to create a high-level runtime architecture diagram. Show 8–12 core components, one primary path, external dependencies, and trust boundaries. Put supporting detail in cards instead of adding more edges.The agent loop is: scan the repository → find entry points → identify key modules → establish dependencies → build a structured representation → validate → render.
I do not expect the agent to fully understand all the code on one pass. The point of the bounded prompt is that the agent gives me a readable skeleton first; I refine it afterwards.
Real Example: From GitHub Repository to System Map
The README’s own Proof Lab maps the public repository mco-org/mco at commit 9f1a1cf into a validated interactive architecture artifact.
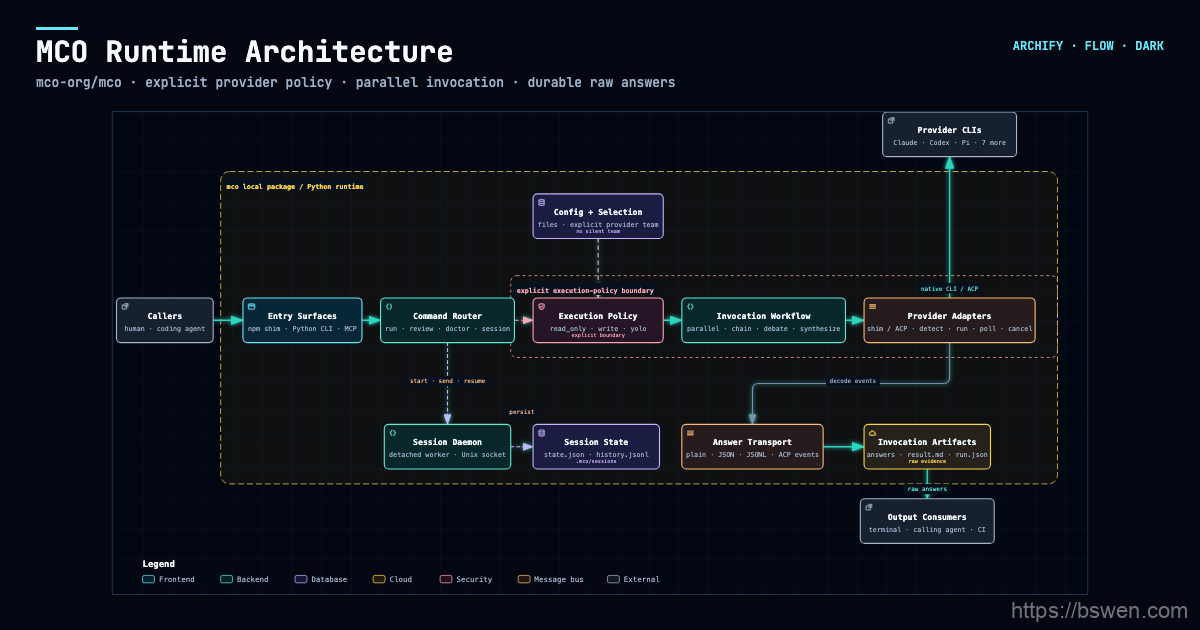
When I open a generated map like this, I look at four things:
- Entry points: where requests or commands start.
- Services: the main runtime components.
- Storage and external dependencies: databases, queues, third-party APIs.
- Message flow: how components talk to each other.
Then I use the interactivity: search for a node, click to focus, and check SRC n evidence markers to see whether a connection is backed by code. That turns “the agent told me” into “I can check myself”.
Interactive Features That Matter in Real Codebases
These features only matter if they map to a real task. For me they do:
- Search and focus: usable when a diagram has hundreds of nodes.
- Upstream: answers “who calls this service?”.
- Downstream: answers “what breaks if I change this module?”.
- Exact routes: shows the shortest authored path between two nodes.
- Source evidence (
SRC n): opens the Git-verified file and line range so I can judge whether an edge really comes from code. - Guided stories: a scripted tour for onboarding a new developer.
- Zoom/pan, dark/light themes, and presets (Classic / Signal Flow / Blueprint): reading comfort at scale.
- Deep links (
#focus=,#route=,#lens=,#view=,#relation=): I can share the exact view instead of a full-page screenshot.
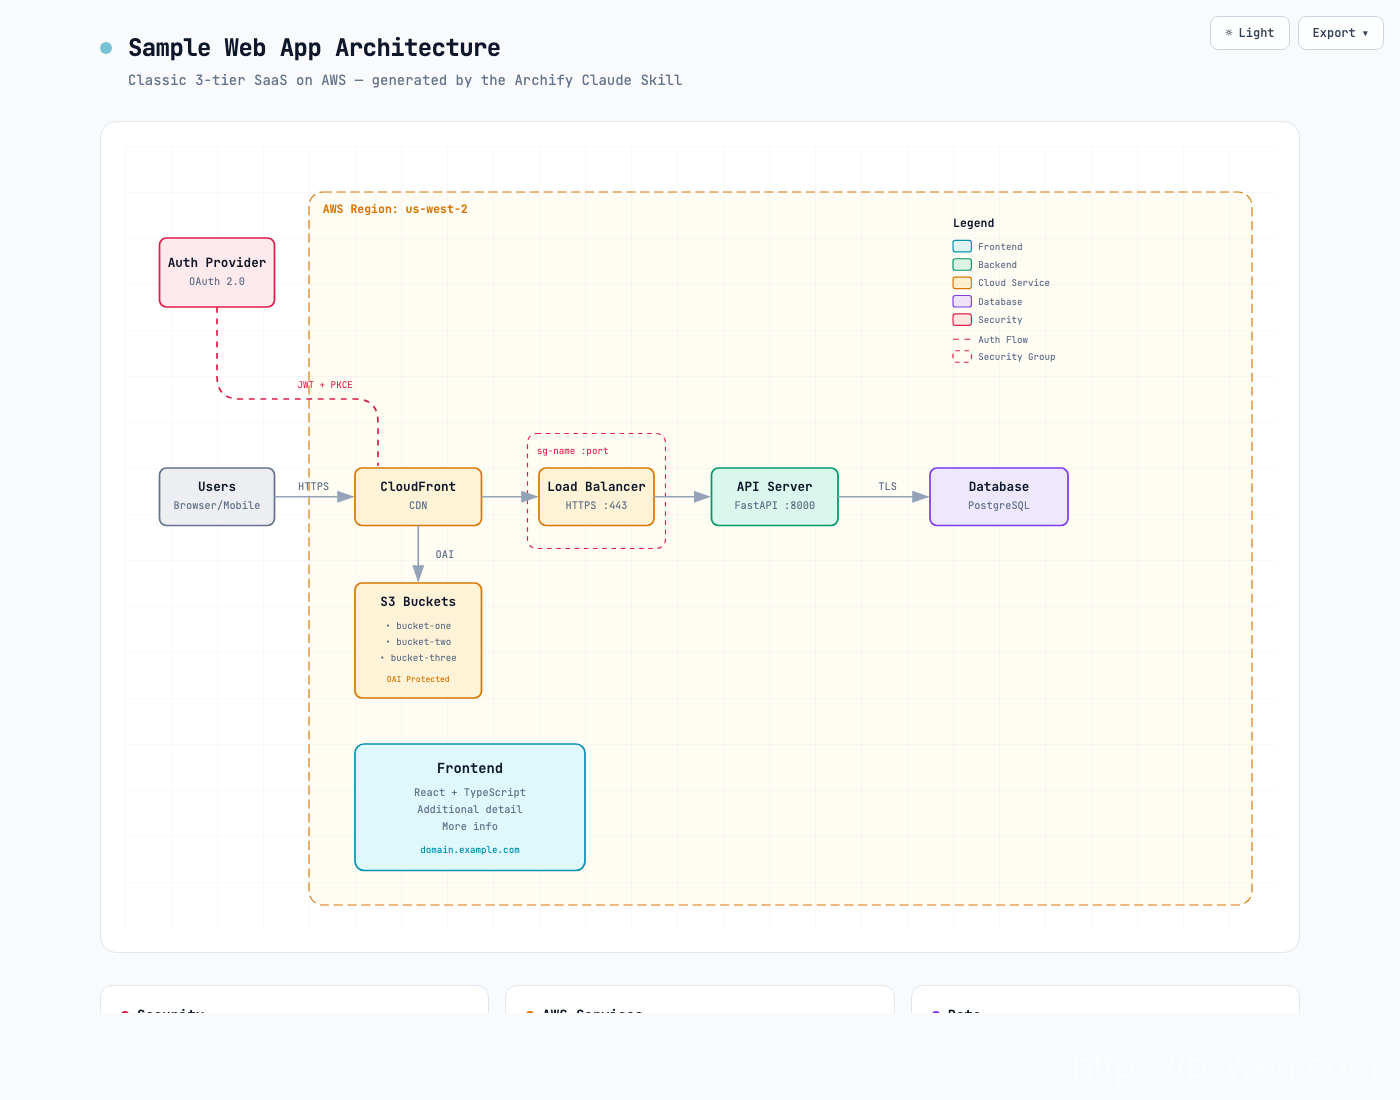
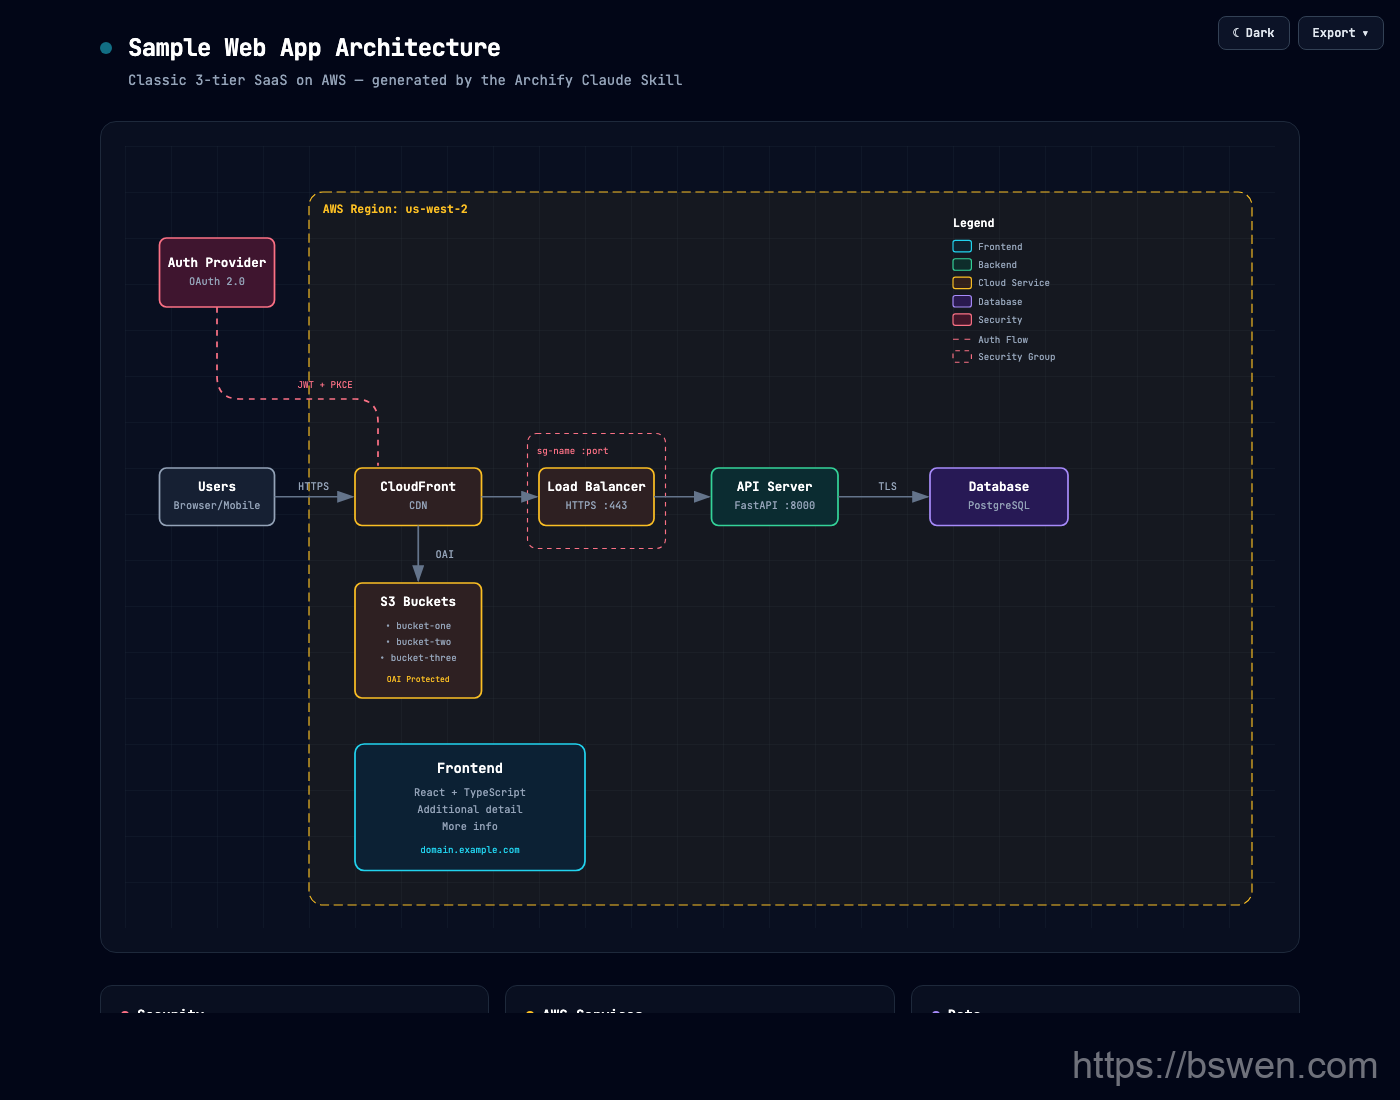
None of these are decorative. Each one answers a question I actually had while reviewing a codebase.
Why Validation Matters: Avoiding AI-Generated Architecture Hallucinations
An LLM-drawn diagram can look plausible and still contain connections that do not exist, for example an API Gateway → Redis edge with no code path supporting it.
Archify’s design is: typed JSON IR → schema validation → renderer → post-render checks → atomic delivery. Validation failures return machine-readable repair receipts, and quality profiles (standard / showcase) control how strict the checks are.
node bin/archify.mjs validate workflow examples/agent-tool-call.workflow.json --quality showcase --jsonnode bin/archify.mjs deliver workflow examples/agent-tool-call.workflow.json /tmp/workflow.html --quality showcase --open --jsonOne important disclaimer: validation is not a guarantee of semantic truth. Structural checks make sure the schema is correct, node and edge references are valid, and rendering is deterministic. Whether a relationship is actually real still depends on the input evidence and the quality of the agent’s analysis. Evidence-backed nodes are optional; they only mark verified source links when you request them, and plain diagrams remain the default.
Archify vs Mermaid
I use Mermaid in READMEs all the time. The question is whether Archify replaces it, and the honest answer is no. They solve overlapping but different problems.
| Feature | Mermaid | Archify |
|---|---|---|
| Text-based | Yes | Yes (typed JSON IR) |
| Agent integration | Prompt it to emit text | Agent Skill with validation |
| Interactive exploration | Limited | Search, focus, routes, lenses |
| Large architecture readability | Crowded at scale | Built for large systems |
| Validation | None | Schema + layout checks |
| Source evidence | None | Optional SRC n links |
| Self-contained HTML | Via tooling | Direct export |
| Change visualization | Manual | Before / Delta / After |
| Manual editing simplicity | Very simple | Not a drawing editor |
| Markdown ecosystem | Native | No WYSIWYG editing |
Mermaid is good for README flowcharts, small sequence diagrams, and docs-as-code. Archify is good for agent-driven codebase analysis, large systems, interactive exploration, and architecture review.
Note that Archify does not automatically parse Mermaid. There is a prompt-engineering mapping in the skill (flowchart → workflow, sequenceDiagram → sequence, stateDiagram → lifecycle), but it is not an automatic parser.
Before / Delta / After Architecture Review
A normal PR diff shows changed lines, not changed structure. When a PR touches several modules, I want to see “what happened to the architecture”, not just the diff.
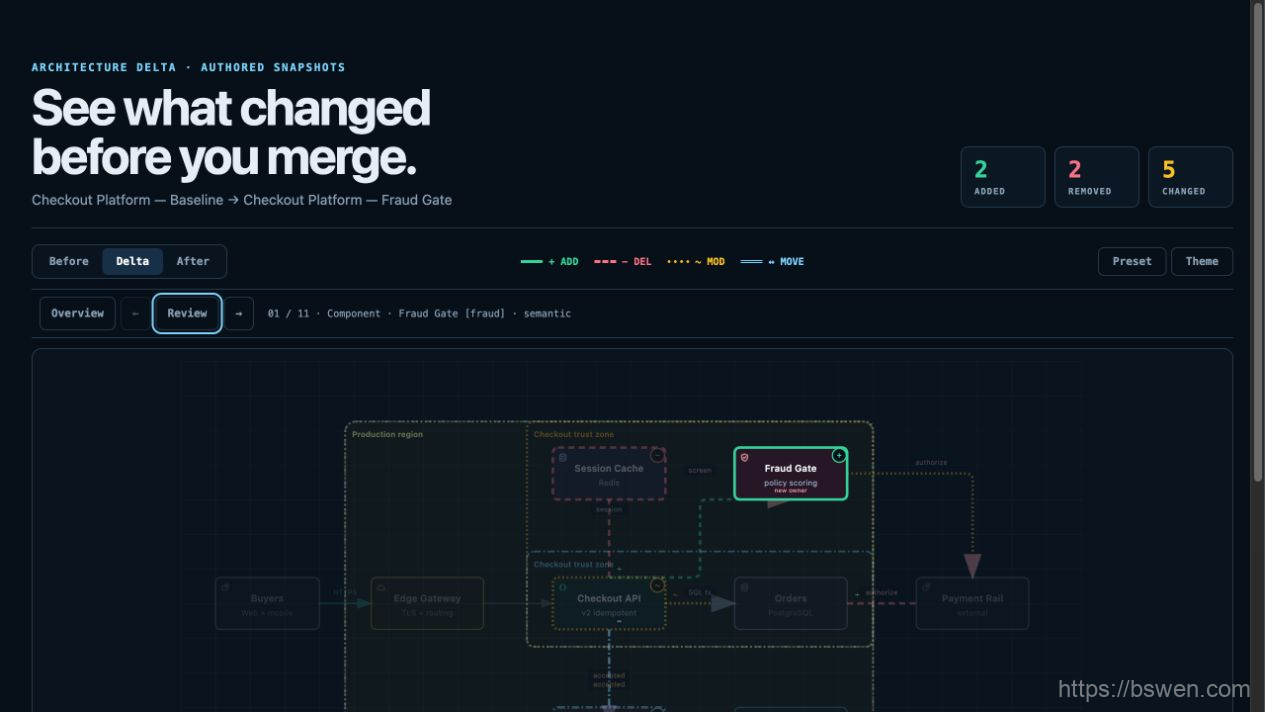
Example: a PR that adds a queue between the API and the worker.
Before: [API] ──→ [Worker] ──→ [DB]After: [API] ──→ [Queue] ──→ [Worker] ──→ [DB]Delta: +Queue, +API→Queue, +Queue→Worker, −API→WorkerArchify compares two independently validated snapshots:
node archify/bin/archify.mjs compare architecture base.json head.json architecture-delta.html --jsonThe output classifies changes as added, removed, changed, or moved facts across semantic, evidence, scope, topology, geometry, provenance, and presentation dimensions.
One caution from the README: the comparison never claims risk, blast radius, safety, mergeability, or verified PR impact. It tells me what changed structurally; I still do the review.
This is most useful for large PRs, refactoring, service extraction, migration, and dependency changes.
Using Archify with Claude Code
I keep a small set of prompts, one per diagram type. Each is bounded so the agent does not over-reach:
1. Repository architecture:   Generate an Archify architecture diagram for this repository. Focus on major   components, data stores and external dependencies. Do not infer relationships   that cannot be supported by the code.
2. Dataflow:   Create a dataflow diagram showing how a request travels from the HTTP entry   point to persistence.
3. Lifecycle debugging:   Analyze the lifecycle of a session from creation to cleanup and visualize it   with Archify.
4. Architecture review:   Compare the architecture before and after the current branch changes and   highlight structural differences.
The same prompts generally work in Cursor and Codex; the only difference is how each agent loads skills.
Using Archify with Cursor and Codex
| Agent | Best workflow |
|---|---|
| Claude Code | Repo-wide architecture analysis |
| Cursor | Interactive coding plus visualization |
| Codex CLI | Terminal / repository analysis |
| OpenCode | Supplementary skill usage |
For agents where the official docs do not explicitly adapt Archify, treat it as “can potentially be integrated through Agent Skill–compatible workflows” rather than an official guarantee.
Exporting and Sharing Architecture Diagrams
The main export is a self-contained HTML file: no server, no npm runtime, no diagram hosting service. I can open it, share it, or archive it directly.
Verified export formats: PNG, SVG, WebM, and 1200×630 share cards in plain, Route, and Reach variants, with up to 4× export (the scale steps down automatically).
My typical workflow:
Archify → self-contained HTML → PNG/SVG → README / Notion / Slack / PRWhen Archify Is Worth Using
Use it when:
- I need to explore an unfamiliar repository.
- I have to explain a complex system to someone else.
- I am reviewing an architecture change.
- I am debugging a lifecycle or dataflow problem.
- I am onboarding a developer.
- I want up-to-date architecture documentation.
Skip it when:
- The diagram is a tiny flowchart.
- I am designing a conceptual architecture from scratch.
- A simple sequence diagram in a README is enough.
Common Problems and Troubleshooting
These are the issues I hit most, based on the official docs:
- Skill not detected: check the install directory for the agent you are using. Each agent has its own path.
- Invalid IR: validation fails with a machine-readable repair receipt. Use
validate --jsonordeliver --jsonto read the diagnostics and thesupportedFixes, then apply at most two focused correction rounds. - Missing renderer dependencies: run
doctorto find the missing piece. - Graph too large or layout hard to read: split the system into smaller diagrams instead of one giant one.
- Unsupported import: Archify has no automatic Mermaid parser. The Mermaid mapping is prompt-engineering only.
The commands I remember: doctor, validate --json, deliver --json, and guide.
A Practical Workflow for Developers
My daily flow looks like this:
- Let the agent read the codebase first.
- Generate a high-level architecture diagram.
- Pick one key flow and generate a dataflow or lifecycle diagram.
- Verify that nodes and edges have source evidence.
- Export the self-contained HTML.
- For large PRs, use Before / Delta / After.
The rule I follow: never ask for one giant diagram of a monorepo. Go system → subsystem → flow.
FAQ
What is Archify? Archify is a Node.js rendering and validation system for Claude Code, Cursor, Codex CLI, and OpenCode. It installs as an Agent Skill, turns agent output into typed JSON IR, validates it, and deterministically renders interactive, self-contained HTML diagrams.
Does Archify work with Claude Code?
Yes. Install it with npx skills add tt-a1i/archify -g and the skill lands in ~/.claude/skills/ or .claude/skills/. The same install covers Codex CLI and opencode.
Can Archify generate architecture diagrams from a GitHub repository?
Yes, through the agent’s repository analysis. The official Proof Lab maps mco-org/mco at commit 9f1a1cf into a validated interactive architecture artifact.
Is Archify better than Mermaid? They solve overlapping but different problems. Mermaid is great for small, text-based diagrams in READMEs; Archify is built for agent-driven, large-system, interactive architecture review. Archify does not replace Mermaid.
How does Archify prevent AI-generated architecture hallucinations? It validates the typed IR with schema and layout rules and returns machine-readable repair receipts. Structural validation is not a guarantee of semantic truth; whether a relationship is real still depends on input evidence and agent analysis.
Summary
In this post, I showed how to install Archify as an Agent Skill, generate a first architecture diagram from a bounded prompt, review structural changes with Before / Delta / After, and export shareable self-contained HTML. The key point is that Archify’s value is not “AI draws pretty diagrams”; it is a validated, reviewable pipeline from code understanding to architecture representation. The facts here were verified against the official repository on 2026-08-18, so check the README when version-sensitive details matter to you.
The project lives at github.com/tt-a1i/archify. If you are a Claude Code or Cursor heavy user, try the bounded prompt and see whether the validated output changes how you review unfamiliar codebases. For more articles on AI coding agents and architecture, browse the related posts on docs.bswen.com.
Final Words + More Resources
My intention with this article was to help others share my knowledge and experience. If you want to contact me, you can contact by email: Email me
Here are also the most important links from this article along with some further resources that will help you in this scope:
Oh, and if you found these resources useful, don’t forget to support me by starring the repo on GitHub!
Comments